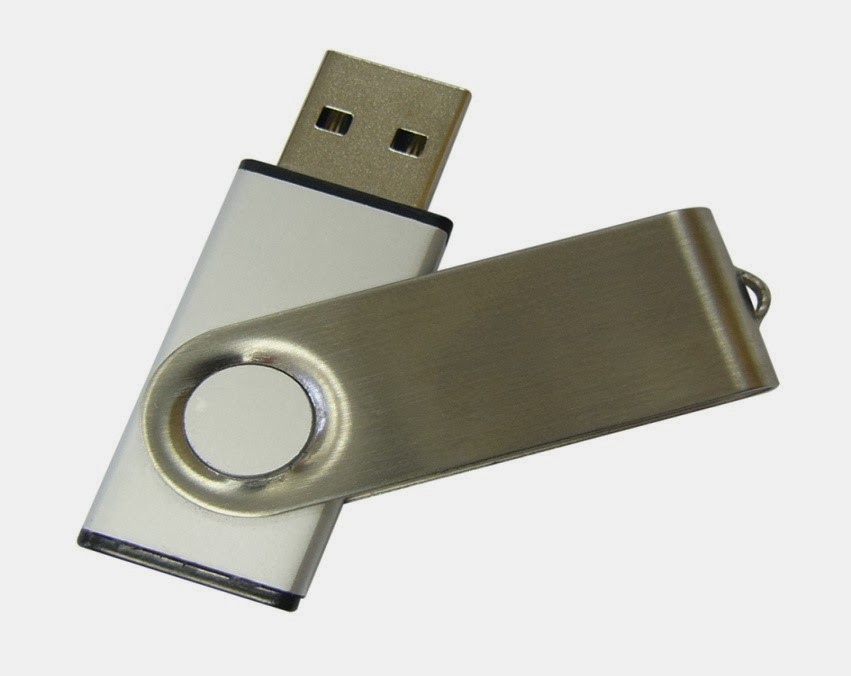
USB drives are a fantastic way to share information from computer-to-computer. While many people use email to send documents, USB drives can take just about anything that your computer has and move it to another system with minimal effort. Plus, USB drives can be used to share information without actually putting it in someone’s possession. Doing so can keep sensitive data from falling into the wrong hands. If you have a USB drive, though, there are still extra measures you should take to secure its contents. Continue reading for 10 easy steps that you can take to safeguard your USB drive.
Proper Password Management Protects Your USB Drive
First, let’s make sure that if anyone gets a hold of your USB drive, they won’t be able to use it.
Keep in mind it’s also important to store your USB drive in a safe place at all times. Even if someone doesn’t have your password, possessing your USB drive can still be damaging, as you no longer have access to the data, either. If the USB drive contains information related to your company, check with human resources or your management. There are often official guidelines specific to securing USB drives that carry company data.
While USB drives are extremely convenient, they can easily expose you to information leaks if not controlled properly. Maintain your USB drive in a secure place at all times, and use the above 10 steps to encrypt the information and protect it with a password.
Source:
http://geekofreak.com/2013/03/encrypt-and-password-protect-your-usb.html
First, let’s make sure that if anyone gets a hold of your USB drive, they won’t be able to use it.
- Insert your USB drive into your computer.
- Find the USB drive in your computer’s “Devices with Removable Storage” section or similar area.
- Right click on it and choose, “Turn on Bitlocker.”
- Once you choose this, Wizard will open up, and you’ll see the option to “use a password to unlock the drive.”
- Type in the password that you would like to use for your USB drive and click next.
- You’ll be asked how you’d like to “back up Recovery Keys.” Simply choose from the menu.
- Next, you’ll be asked to confirm whether or not your USB drive is already being used or if it’s brand new.
Encrypt Your USB Drive
Now you’ll want to encrypt the information that is found on your USB drive. This is a further measure that will make sure that your drive is protected from prying eyes, no matter how badly they want your information. After the above 7 steps, Wizard will ask you how much of your drive you’d like to encrypt.- You’ll be given the option to encrypt the entire drive, which is best for those that are already in use, or just the used disc space, which is preferable for a new drive. The former option will take longer.
- After you make your choice, the encryption process will start.
- When the encryption process is complete, you can remove your USB drive, confident that its contents are now safe.
Keep in mind it’s also important to store your USB drive in a safe place at all times. Even if someone doesn’t have your password, possessing your USB drive can still be damaging, as you no longer have access to the data, either. If the USB drive contains information related to your company, check with human resources or your management. There are often official guidelines specific to securing USB drives that carry company data.
While USB drives are extremely convenient, they can easily expose you to information leaks if not controlled properly. Maintain your USB drive in a secure place at all times, and use the above 10 steps to encrypt the information and protect it with a password.
Source:
http://geekofreak.com/2013/03/encrypt-and-password-protect-your-usb.html

0 comments:
Post a Comment